
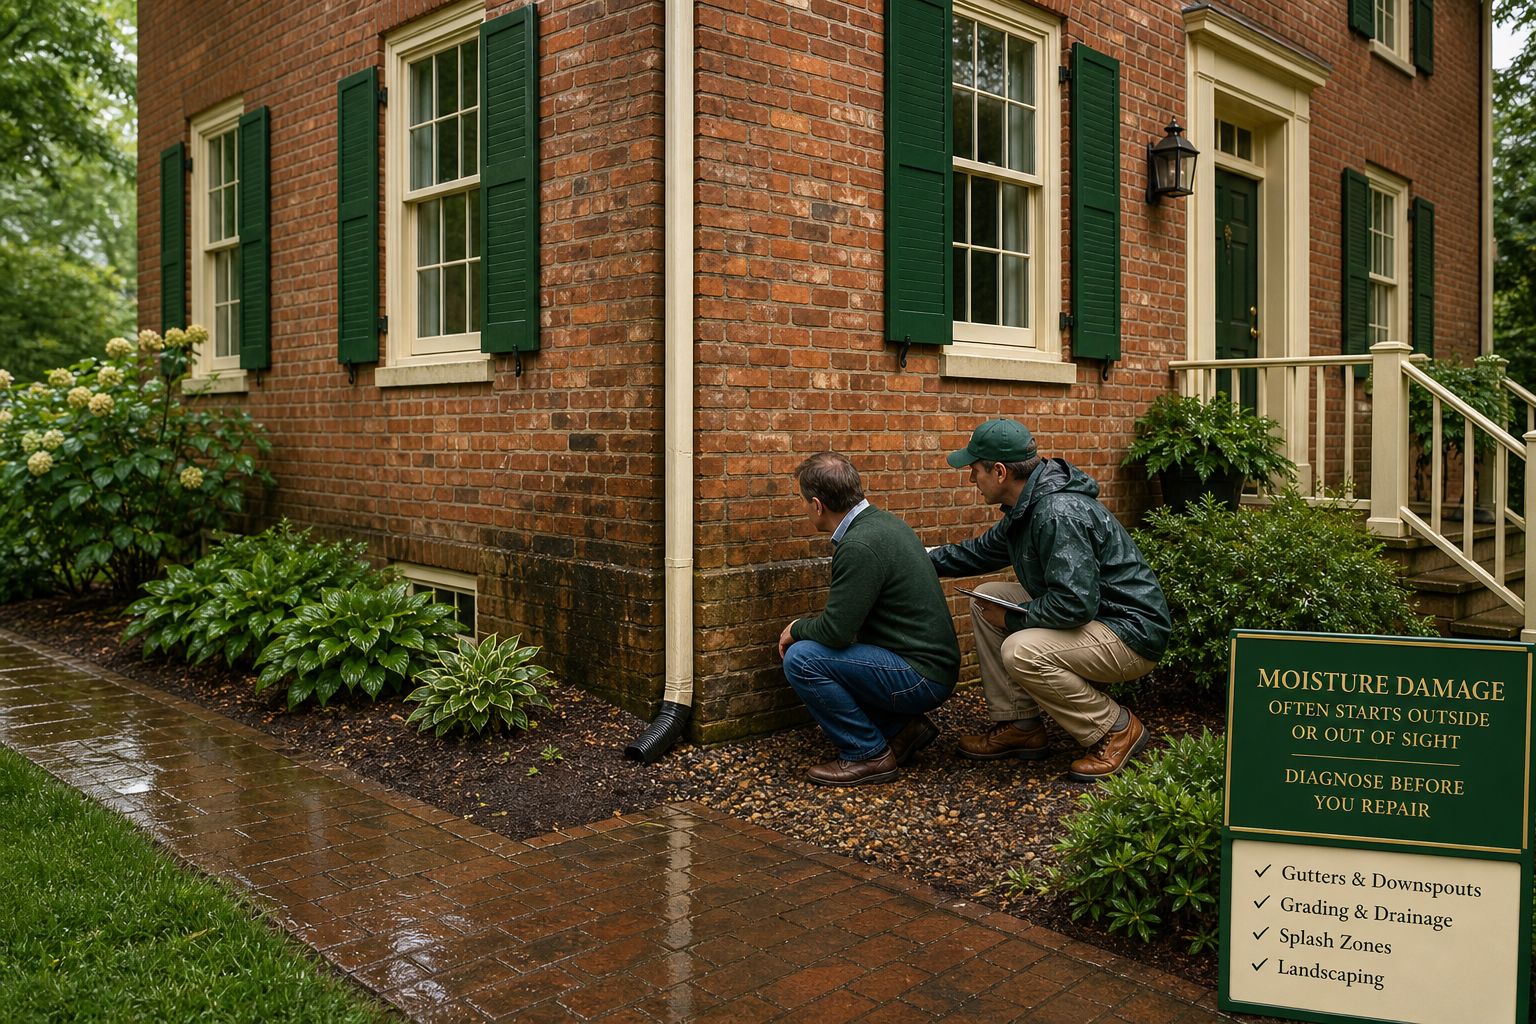
Moisture problems in an old house rarely begin where the damage appears. A stained plaster ceiling may trace back to flashing. A damp basement wall may be caused by a settled patio. A musty crawlspace may be collecting moisture from soil, roof runoff, or humid outdoor air.
That is why the first repair should not be paint, patching, or interior waterproofing. The first step is diagnosis. In older and historic homes, the path water takes through grading, gutters, masonry, crawlspaces, roofs, and interior air can be indirect, slow, and easy to misread.
At Commonwealth Contractors, we work with homeowners in Charlottesville and across Virginia on custom homes, renovations, additions, and historic building renovation, where moisture diagnosis is often essential before repair work begins. If you have questions about moisture damage in an older home, you can reach out to our team for guidance before starting repairs.
Surface Water Around the Foundation Is Often the First Place to Investigate
For many older Virginia houses, moisture problems begin outside. Surface water that is not directed away from the building can collect along the foundation, soak into masonry, or enter a basement or crawlspace. This is especially important in older foundations that were not designed to resist modern expectations of hydrostatic pressure.
The Virginia Department of Historic Resources identifies proper drainage away from the house as the most important step when addressing wet basements in historic homes. That priority matters because surface drainage problems can make interior repairs fail repeatedly.
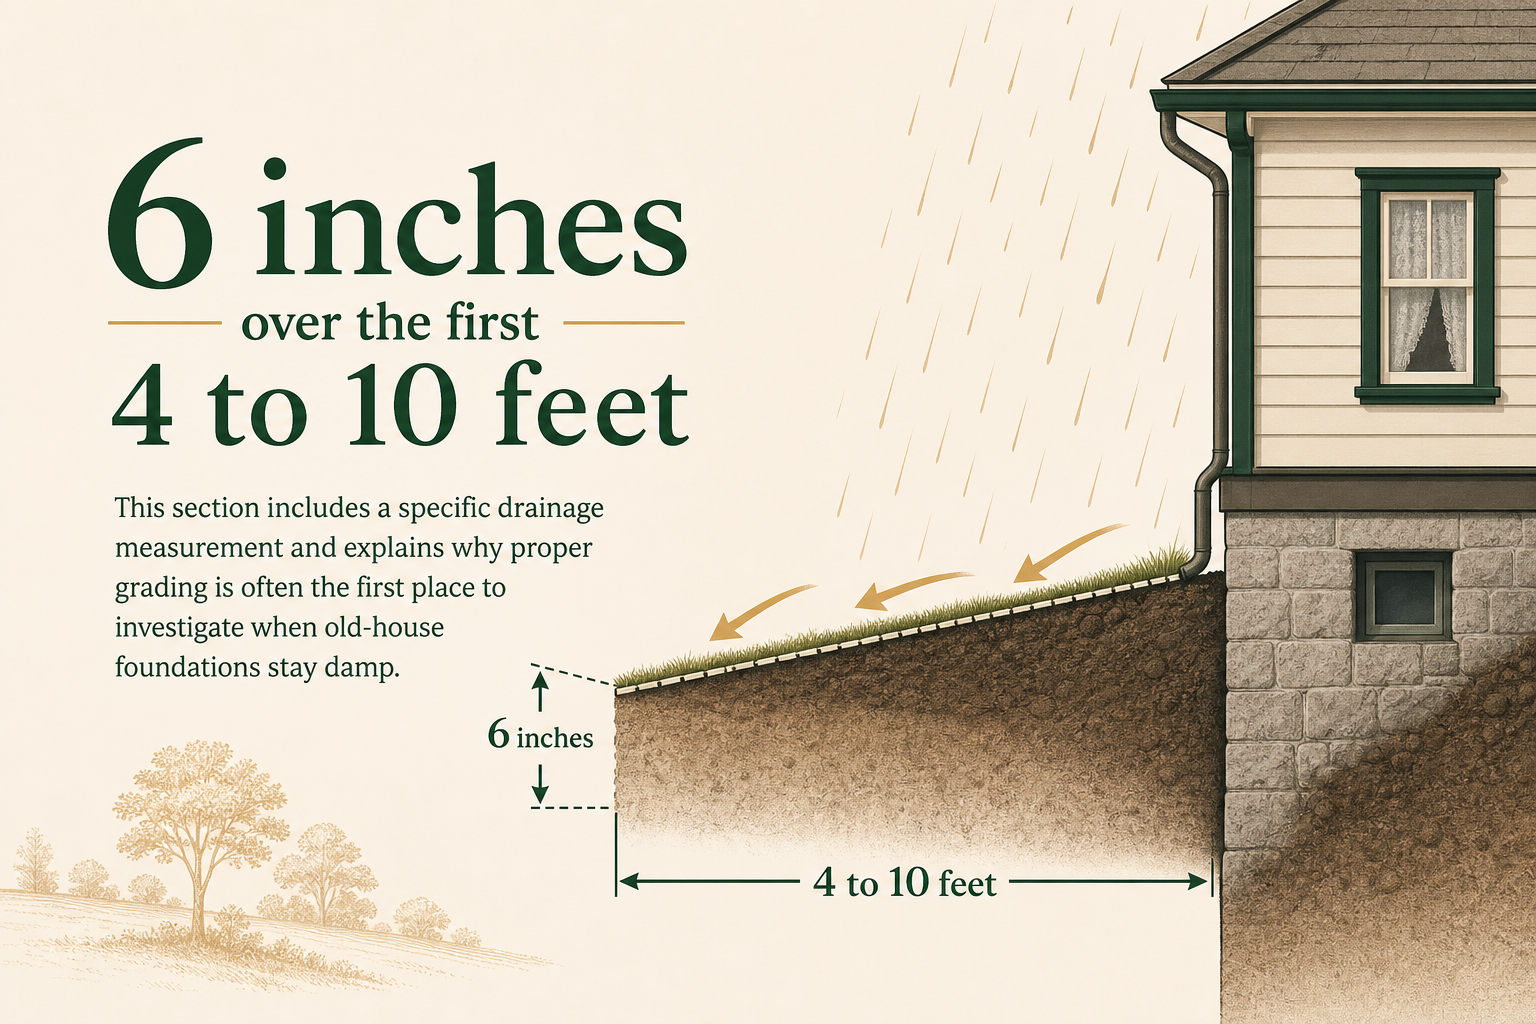
Grading that slopes toward the house keeps masonry wet
Soil should move water away from the building, not hold it against the foundation. When grading slopes toward the house, low spots form at the base of the wall. Rainwater can pond there, soaking into brick, stone, or block and increasing the chance of seepage.
Modern guidance for existing houses recommends restoring a positive slope so the soil falls about 6 inches over the first 4 to 10 feet away from the foundation, depending on soil type and site conditions. That does not mean every yard must look steep. It means the surface should consistently encourage water to leave the foundation area.
Hardscape can create the same problem. A walkway, patio, driveway edge, or stoop that has settled toward the house can act like a channel, sending runoff directly to the basement wall or crawlspace. Landscape borders, planters, and retaining walls can also trap water beside old masonry, contributing to mortar deterioration and rising damp.
Gutters and downspouts can concentrate roof water at vulnerable points
Roof water becomes a foundation problem when gutters are clogged, missing, leaking, or poorly directed. Instead of spreading rainfall across a large yard area, failed gutters concentrate runoff at the eaves and corners. Downspouts that empty beside the house can create chronic wetting at the same foundation location storm after storm.
Historic preservation guidance from Virginia and the National Park Service stresses that clogged or misdirected gutters and downspouts are among the top causes of damp basements and crawlspaces. Regular inspection is not just exterior maintenance. It is part of moisture control for the whole structure.
A useful exterior review should slow down and look for visible patterns. These signs help connect the interior damage to exterior water behavior, which is the key takeaway before choosing repairs. Homeowners can often spot the clues before any invasive work is considered.
Soil or mulch piled high against brick, stone, or siding near the foundation.
Low spots where water ponds after rain.
Erosion grooves showing where runoff repeatedly travels.
Splash-back staining on foundation walls or lower siding.
Downspouts that discharge at corners without a splash block, extension, or solid drain line.
Walkways, patios, or other hard surfaces sloping toward the house.
Surface drains or drywells that do not move water away when tested under flow.
These observations often reveal why a basement wall stays damp even after interior patching. If the soil beside the wall keeps getting saturated, water will continue looking for a path inward.
Old House Waterproofing Should Not Start With Coatings or Excavation
Old house waterproofing is most effective when it begins with reducing the water load. Preservation guidance emphasizes that subsurface drainage, excavation, exterior waterproof membranes, and dampproof coatings should generally come after surface drainage has been corrected. This sequencing is especially important for historic masonry.
The reason is simple. Historic brick, stone, and mortar assemblies often need to manage moisture by absorbing, releasing, and drying. If an impermeable coating traps water and salts inside a wall, deterioration can accelerate rather than stop.
Last-resort waterproofing can be harmful when the source is still active
Applying a coating to a damp wall may seem direct, but it can hide the symptom while the moisture source continues. Preservation Brief guidance warns that water-repellent and waterproof coatings can trap moisture and salts within masonry, increasing spalling, scaling, and deterioration. In most historic masonry applications, these treatments require careful evaluation and should not be the first response.
Before considering more invasive approaches, contractors should check grading, gutters, downspouts, surface drains, swales, crawlspace conditions, basement humidity, and roof water management. When those are improved, many moisture symptoms diminish without altering the masonry itself.
Rising Damp in Historic Masonry Has a Distinct Pattern
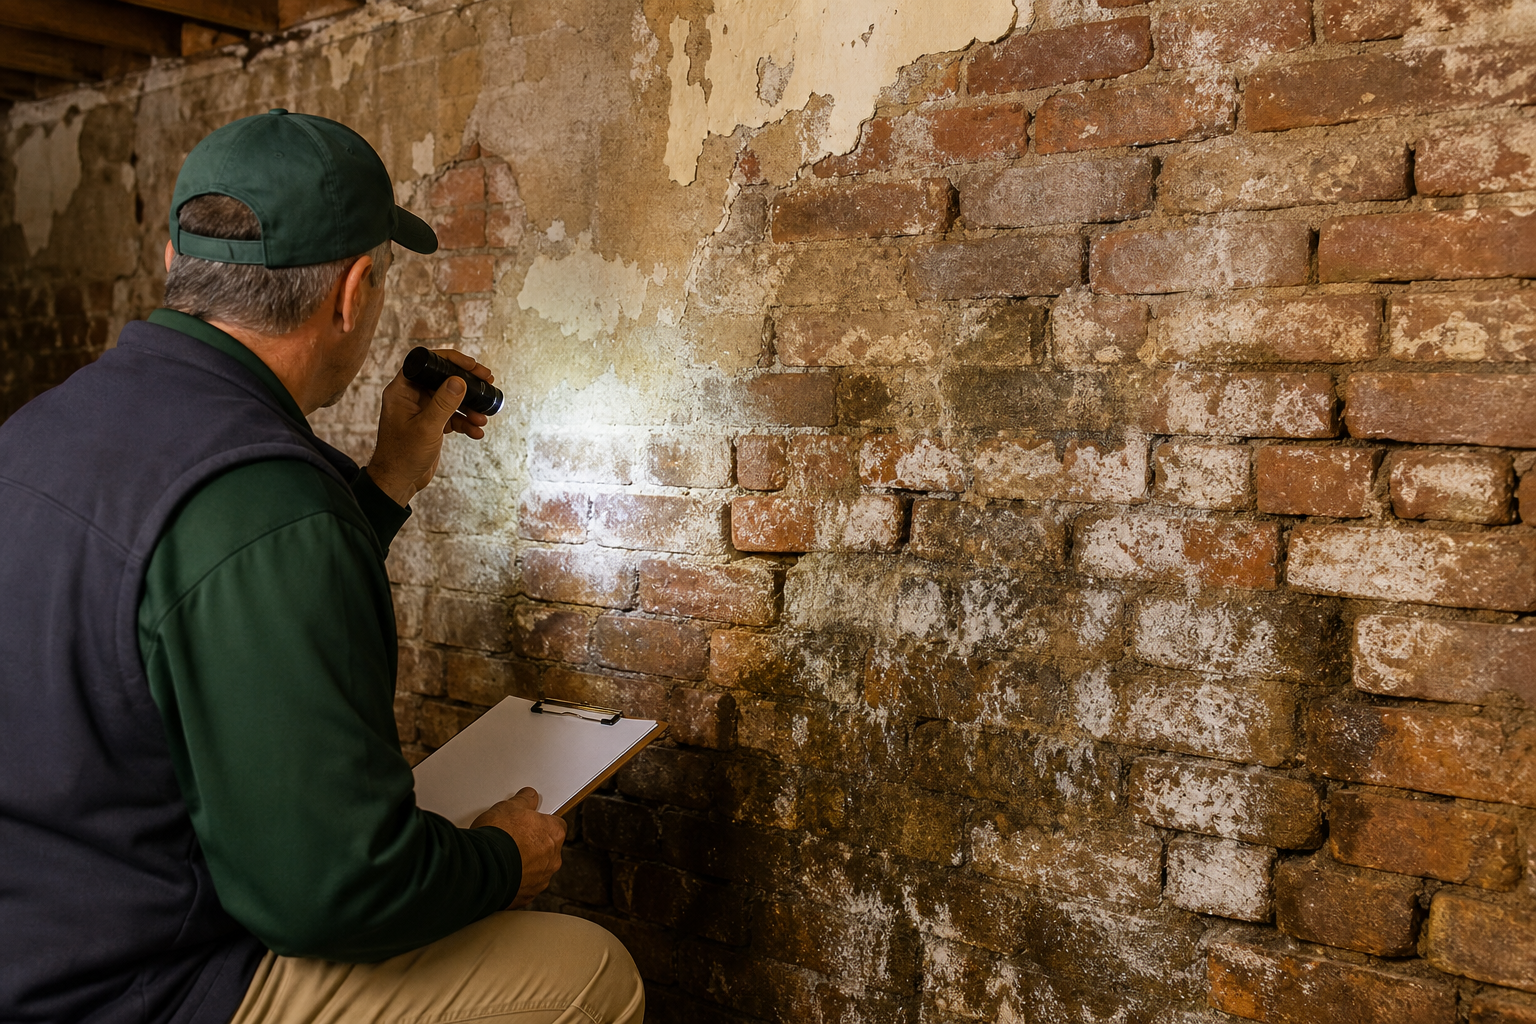
Rising damp is a specific type of historic home moisture problem. It occurs when ground moisture moves upward through porous masonry by capillary action. Brick, mortar, stone, foundations, walls, and piers can all be involved when they are in contact with wet soil and lack an effective damp-proof course or capillary break.
The visible evidence often appears near the base of a wall. Water carries dissolved salts upward, then evaporation leaves salts behind. That can create a horizontal band of dampness, efflorescence, and deterioration in lower masonry.

Rising damp should be separated from leaks and condensation
Not every damp masonry wall has rising damp. A random wet patch higher on a wall may be tied to a roof leak, flashing issue, plumbing leak, or condensation. A consistent damp band near the base of a wall, salt deposits, and deterioration of lower courses suggest a ground-related mechanism.
Correct diagnosis matters because treatments can be invasive. The General Services Administration describes chemical dampproofing for confirmed rising damp as a process involving drilled holes along mortar joints and controlled infusion of a dampproof liquid. That level of intervention requires technical judgment, especially where historic materials and varying wall construction are involved.
The more preservation-sensitive path is to reduce water at the foundation first. Regrading, gutter repair, downspout management, underground drainage correction, and basement or crawlspace ventilation improvements can reduce the amount of moisture available to wick upward.
Crawlspaces Can Store Moisture That Damages the Structure Above
Many older Virginia homes sit over crawlspaces or short basements. These areas are often overlooked because they are uncomfortable to enter, but they can be one of the largest moisture reservoirs in the building. A crawlspace can hold standing water, mud, high humidity, condensation, and musty odors long before living spaces show obvious damage.
Common sources include roof and surface water entering through vents or masonry, groundwater seepage, plumbing leaks, and moisture diffusing up from exposed soil. Because older framing may bear near grade on masonry piers or sill beams, crawlspace moisture can threaten structural wood.
Commonwealth Contractors often sees crawlspace evaluation become an important step before renovation or historic repair work, because replacing damaged wood without correcting the moisture condition can lead to repeat deterioration. The goal is not just to repair what failed, but to understand why it failed.
Ventilation and vapor barriers must be evaluated for the specific house
Crawlspace ventilation in older homes is not a one-size-fits-all issue. Traditional preservation guidance often recommends adequate cross-ventilation through foundation grilles, with seasonal adjustments when outdoor air would worsen moisture conditions. More recent building science guidance notes that in humid climates, open vents can bring in warm, moist air that condenses on cooler surfaces.
That means the right approach depends on the house, its materials, its mechanical conditions, and the moisture source. In some cases, a sealed crawlspace with a continuous vapor barrier and controlled dehumidification can perform better. In other cases, existing ventilation strategies may need to be retained or adjusted carefully.
Across approaches, exposed soil is a major concern. Preservation Brief 39 recommends adding a heavy polyethylene or Mylar vapor barrier over exposed dirt in crawlspaces if monitoring shows it is needed and there is no active rising damp in the walls. Contemporary guidance also supports durable plastic liners with overlapped and taped seams where compatible with the structure.
Structural wood gives visible clues about long-term crawlspace moisture
A crawlspace inspection should include the wood, not only the ground. Damp sill beams, joist ends, and girders can show fungal decay, soft fibers, surface mold, or insect activity. Sagging or stained insulation, rusted fasteners, corroded hangers, and condensation on ducts or pipes also point to high humidity or recurring water.
The inspection should connect those symptoms to the sources. That may include exterior drainage, foundation openings, exposed soil, plumbing leaks, or condensation. Only then should a repair plan address vapor barriers, drainage, ventilation, dehumidification, or wood repair.
Roof Leaks and Flashing Defects Can Show Up Far From the Entry Point
Roof leaks in old houses are not always obvious. Historic plaster can absorb and redistribute moisture, allowing water to travel along lath, joists, or framing before a stain appears. The visible mark inside may not sit directly below the roof defect.
Common interior warning signs include brown or yellow stains on plaster ceilings and walls, peeling paint, localized plaster delamination, mold growth on upper-story ceilings, and damage near the intersection of walls and ceilings. These symptoms should be traced before cosmetic repairs begin.
Chimneys, valleys, dormers, and roof transitions deserve close attention
Historic roofs often contain complicated intersections. Chimneys, valleys, dormers, vent stacks, skylights, parapets, built-in gutters, and additions all create transitions where water can enter. Dissimilar materials and complex roof shapes increase the importance of flashing condition.
The National Park Service notes that improperly lapped or corroded chimney counterflashing and step flashing can allow water to run into walls or along the chimney chase. Inside, that may appear as efflorescence, spalled masonry near a fireplace breast, damp patches, or peeling paint beside a chimney.
Older roof details can hide leaks for a long time. Built-in gutters and box gutters behind cornices rely on liners and seams that may fail, sending water into cornices, wall cavities, or decorative trim. Junctions between original roofs and later additions can create debris traps and dead valleys where water backs up.
Roof diagnostics should happen before plaster repair
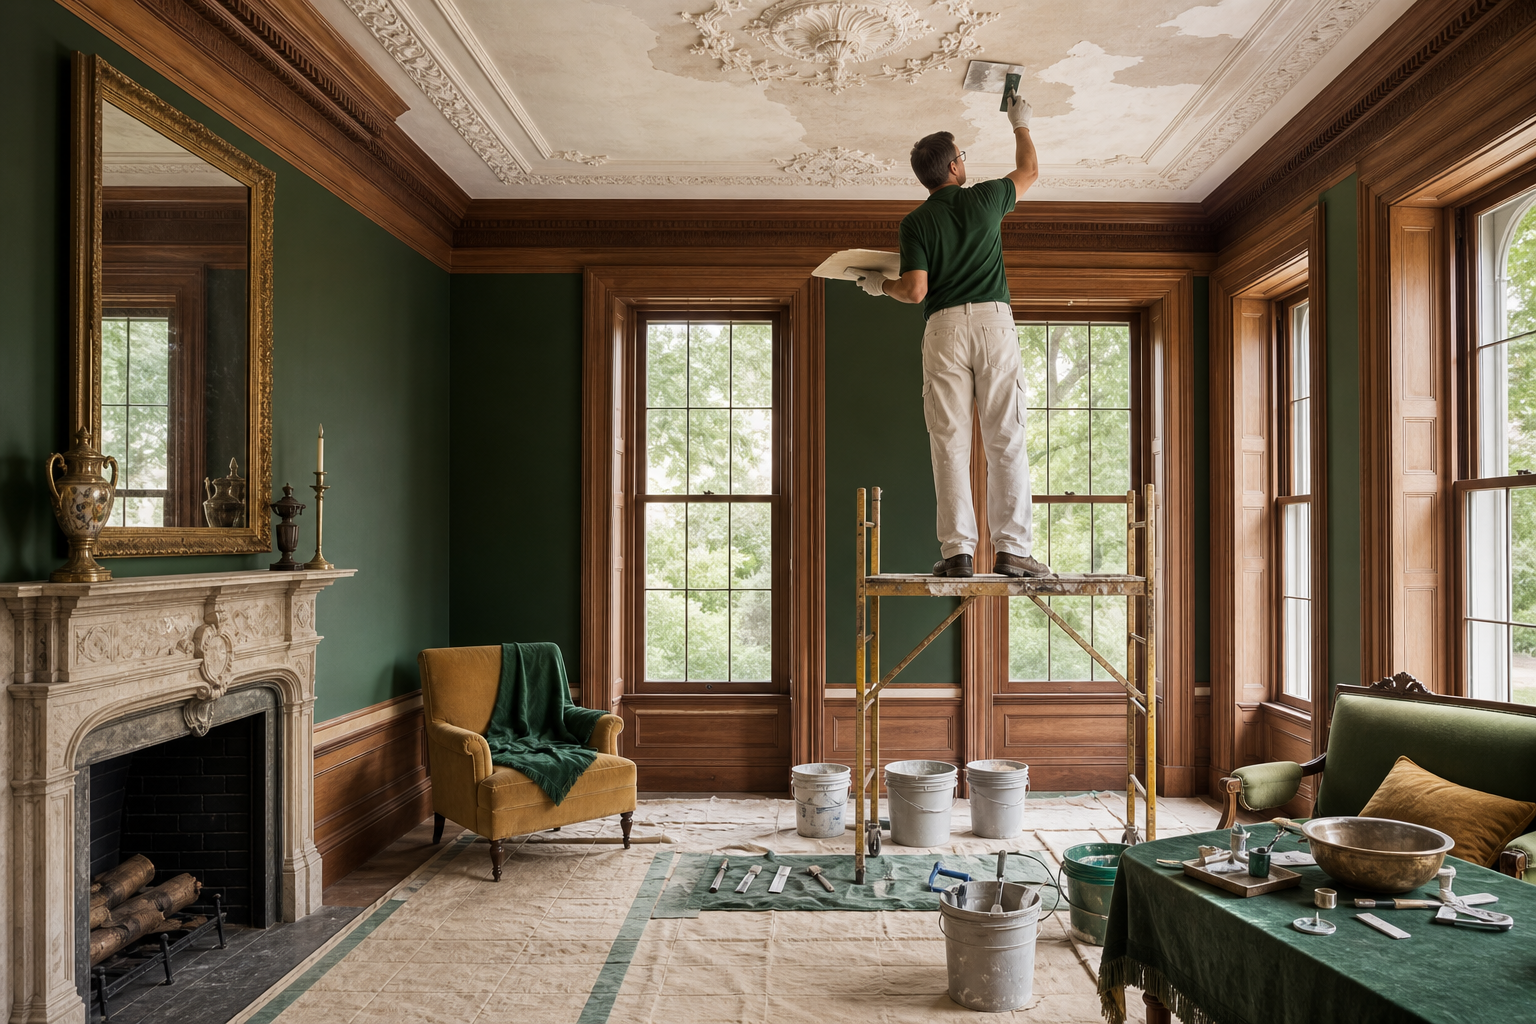
Repairing a plaster ceiling before identifying the roof entry point usually leads to renewed staining. A moisture investigation should inspect roof coverings, flashings, and penetrations from above. It should also check attics or upper crawl areas for wet sheathing, damp insulation, mold, nail staining, and rafter discoloration.
The goal is to correlate interior symptoms with exterior defects. Once the roof and flashing issue is corrected, plaster consolidation, patching, and repainting have a better chance of lasting.
Condensation Can Mimic a Leak in Basements and Masonry Walls
Moisture problems in an old house are not always caused by liquid water entering from outside. Condensation can occur when moist air contacts cooler surfaces, especially in basements where air, masonry, and interior conditioning interact. Misreading condensation as seepage can lead to unnecessary excavation or inappropriate old house waterproofing.
Basement moisture can come from rain or groundwater, moisture generated indoors, or humid exterior air entering and condensing on cool surfaces. Since each source requires a different response, diagnosis should separate absorption, rising damp, leakage, and condensation.
The foil test can help distinguish wall moisture from surface condensation
Preservation guidance recommends a simple test on suspect masonry. Tape a piece of aluminum foil to the wall and check it after one to two days. If moisture appears behind the foil, the moisture is coming through the wall by absorption or rising damp. If moisture appears on the front surface, condensation from humid air is the likely cause.
This small test is useful because it changes the repair path. Condensation calls for humidity control and air management, while water behind the foil points toward exterior drainage, rising damp, or wall absorption. A professional assessment may also use moisture meters, humidity monitoring, and mapping of damage patterns.
Cosmetic Repairs Fail When the Moisture Source Remains
Old plaster, wood, and masonry can often be repaired, but not successfully while the moisture source remains active. Paint over damp plaster will blister or peel. New trim installed at a wet wall or floor junction can decay. Repointed masonry can continue to deteriorate if water and salts remain trapped in the wall.
That is why moisture diagnosis should come before finish work. A repair plan should first map visible damage, then connect it to site drainage, roof and gutter performance, crawlspace conditions, mechanical systems, condensation, and ground moisture.
A careful moisture investigation should be practical and observable. The point is not to make the home perfectly sealed. Older buildings often rely on materials that can absorb and release moisture, so repair strategies need to respect that movement.
Before approving cosmetic repairs, homeowners and contractors should work through the likely source categories. This sequence helps prevent spending money on finishes that will quickly fail again. It also supports repairs that are compatible with historic materials.
Check exterior grading, low spots, hardscape slopes, and trapped water near the foundation.
Inspect gutters, downspouts, splash blocks, extensions, and drain outlets during or soon after rain.
Look for rising damp indicators such as horizontal damp bands, salt deposits, and lower-wall masonry deterioration.
Enter the crawlspace or short basement to identify standing water, mud, condensation, exposed soil, mold, decay, insects, or rusted metal components.
Trace roof leaks through shingles or slates, flashing, chimneys, valleys, dormers, built-in gutters, and roof-to-addition transitions.
Distinguish condensation from seepage with observation, moisture testing, humidity review, and, where appropriate, the foil test.
Delay plaster, paint, trim, flooring, and masonry finish repairs until the active moisture path is corrected.
A Practical Moisture Investigation Protects Old Houses Before Renovation
A reliable repair plan for historic home moisture starts with documentation. Photos, moisture readings, damage maps, drainage observations, and rain-event inspections help show whether the problem is outside, inside, above, below, or moving through masonry. This evidence helps prioritize repairs and avoid unnecessary invasive work.
The most effective sequence is usually to correct exterior water first, then evaluate interior humidity, crawlspace conditions, masonry behavior, and finish damage. That order is consistent with preservation guidance because it reduces water loads before considering coatings, excavation, or other higher-risk interventions.
For homeowners, the important takeaway is patience at the beginning of the project. Moisture can make an old house feel urgent, but rushing straight to cosmetic repair often hides the evidence needed for proper diagnosis. Finding the source first protects the structure, the historic materials, and the investment in the finished renovation.
If your Virginia home has recurring dampness, stained plaster, crawlspace moisture, masonry deterioration, or failed finish repairs, Commonwealth Contractors can help evaluate the problem in the context of a renovation or historic building project. Schedule a Consult or call (434) 218-0448 to discuss the right next step for your home.






.webp)
.webp)

.webp)


.webp)
.webp)

.webp)
%2520(1).webp)
%2520(2).webp)


.webp)
.webp)
.webp)
%2520(1).webp)
%2520(3)%2520(1).webp)
%2520(1)%2520(1).webp)
.webp)
%2520(1).webp)
%2520(2)%2520(1).webp)